Dusty Blue Desktop Tape Dispenser For Paperwork And Creative Projects
Dusty Blue Desktop Tape Dispenser For Paperwork And Creative Projects
Couldn't load pickup availability

Dusty Blue Desktop Tape Dispenser For Paperwork And Creative Projects
The small step between arranging and finishing 🧩
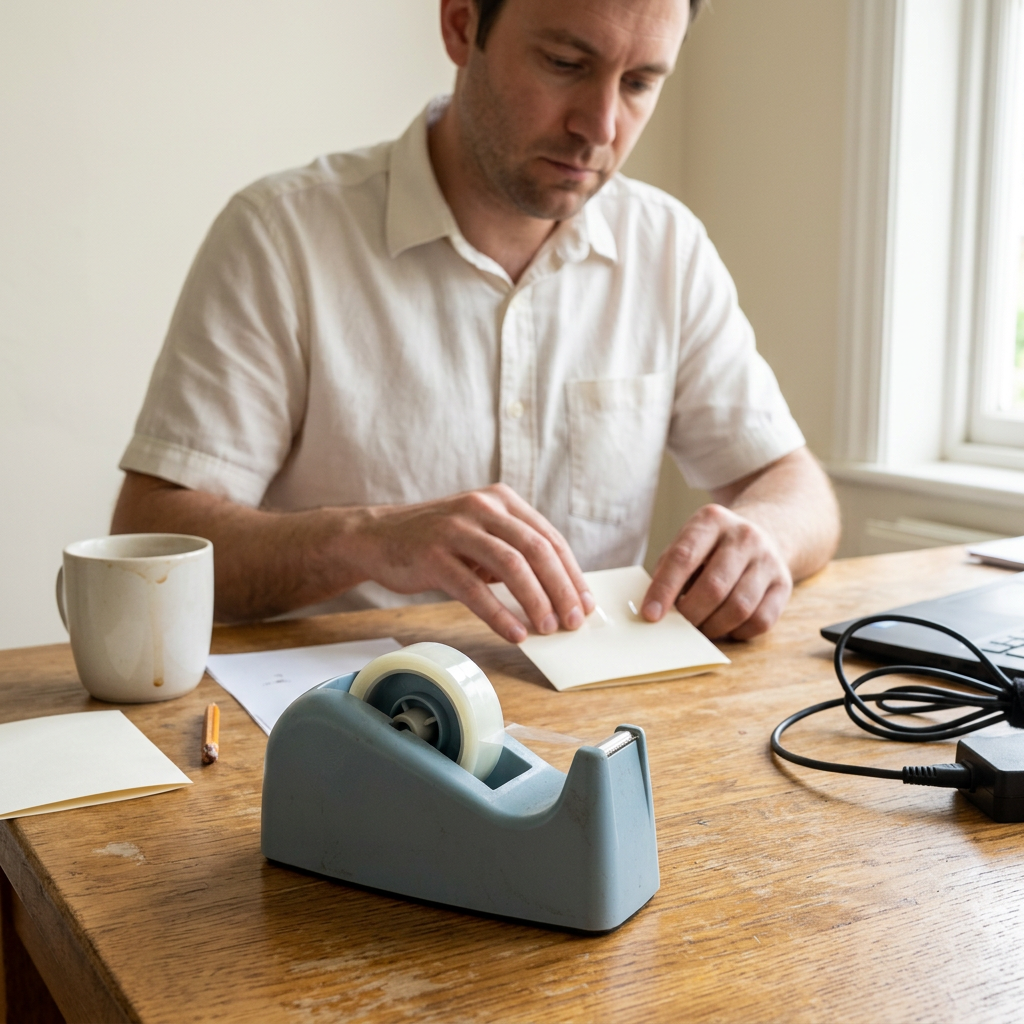
A paper project often begins with moving things around. A folded card sits beside a practice sheet, a reference image changes position, and the arrangement feels almost right. Then comes the small practical step that lets you move forward. This dusty blue desktop tape dispenser brings a familiar tool into that moment, with a restrained color and a recognizable open-cradle shape.
The listing includes one dispenser only. Tape is sold separately, and any roll shown in the lifestyle scenes is a demonstration prop. Choose a suitable roll only after checking the dispenser's actual compatibility requirements. The design is intended as a desk accessory, not a promise that every type of tape will fit or perform the same way.

A familiar silhouette, softened by color
The rear of the dispenser curves around an open roll area, with a visible spindle at its center. From there, the body slopes toward a raised front nose. A small silver tone serrated strip crosses the front, introducing a metallic detail against the muted blue exterior. A narrow dark edge defines the underside.
The body has a smooth, matte appearance rather than a bright decorative finish. Its low horizontal outline looks at home among loose pages, a notebook, and the ordinary objects that collect on a working table. There are no large printed messages or prominent logos to compete with the task in front of you.
Dusty blue can add a little color to a pale workspace without requiring an entirely matching collection. Pair it visually with warm wood, cream paper, or the stationery you already own. The result can remain personal and practical rather than looking like a display assembled all at once.
A paper project in four thoughtful moves
First, decide what should stay together
Before reaching for adhesive, arrange the pieces where you think they belong. Check which surfaces may come into contact with tape and whether those surfaces can tolerate it. A rough draft or practice sheet is a useful place to explore the arrangement before working on a finished piece.
Adhesive choice matters as much as the dispenser. Different tapes suit different uses, and some can mark paper or become difficult to remove. Follow the tape manufacturer's guidance and test on spare material when appropriate. Do not assume that a clear-looking tape is removable, archival, or suitable for delicate originals.
Next, prepare the workspace
Leave enough room to handle both the project and the dispenser. Put the tool on a suitable level surface, away from the edge of the table and outside the path of loose cables. Move drinks away from paper and adhesive. A little clear space is more useful than a perfectly styled desk.
Fit a compatible roll according to the instructions supplied with the actual item. Keep fingers away from the cutting strip during setup and use. If a roll does not sit or turn as expected, stop and check compatibility rather than forcing the mechanism or changing the tool.
Then, work at the project's pace
Use the dispenser as directed, keeping hands clear of the serrated edge. Take time to check placement before applying adhesive to a finished surface. A small pause can be worthwhile when the paper is important, especially if the selected tape is not intended to be repositioned.
For a simple handmade card, that might mean reviewing an attachment on a test piece first. For a temporary paper layout, it could mean choosing an adhesive specifically suited to temporary use. The dispenser holds the roll; the tape and the materials determine whether the application is appropriate.
Finally, leave a sensible stopping point
When the session ends, set the project somewhere it can remain undisturbed. Follow the dispenser instructions for leaving the tape ready for later use, and return the tool to a safe location. Keep the cutting area away from loose fabric, searching fingers, and objects that might catch on it.

Made for the scene you already have 🎭
The table may still hold pencil drafts, an empty mug, and the laptop you closed halfway through a thought. Those details are part of everyday making. This dispenser does not ask you to create a separate studio before you begin. It can take its place within a suitable working setup, alongside familiar tools.
At a kitchen table, clear the food and give the project a clean area. At a study desk, keep reference pages separate from anything you intend to tape. In a creative workspace, leave the cutting strip where it will not be brushed accidentally. The right arrangement depends on how you move through the task.
Compatibility comes before the refill
Check the actual supported roll width, core size, and maximum roll diameter before buying tape. The photographs do not establish these measurements. A roll that looks similar may still be unsuitable, and fitting one part of a roll does not guarantee that the complete setup will work correctly.
This listing does not claim universal compatibility, a weighted construction, nonslip performance, or one-handed operation. If any of those features is essential to your workspace, confirm the relevant specifications before choosing the dispenser. Use only tape and operating methods suited to the actual product.
A little care around the working edge
The front cutting strip has serrations and should be treated as a sharp working part. Keep it away from children, avoid running fingers along it, and do not use the dispenser for tasks outside its intended purpose. Handle the body carefully when moving it and keep the front edge clear of your grip.
Follow the supplied cleaning and maintenance guidance. Do not scrape the cutting area with your fingers or assume that a solvent is safe for the body. If tape or debris causes a problem, stop and use the approved method rather than applying more force.
What is included
- One dusty blue desktop tape dispenser.
- A rounded rear roll cradle with a visible spindle.
- A raised front nose with a silver tone serrated cutting strip.
- A muted blue exterior with a dark lower edge.
Tape rolls, paper, cards, pens, notebooks, mugs, computers, and other lifestyle accessories are not included. The empty white-background image shows the standalone product.
Begin with the paper arrangement, choose suitable materials, and take the next small step carefully. Not every creative session needs a grand plan. Sometimes finishing one modest piece is enough.